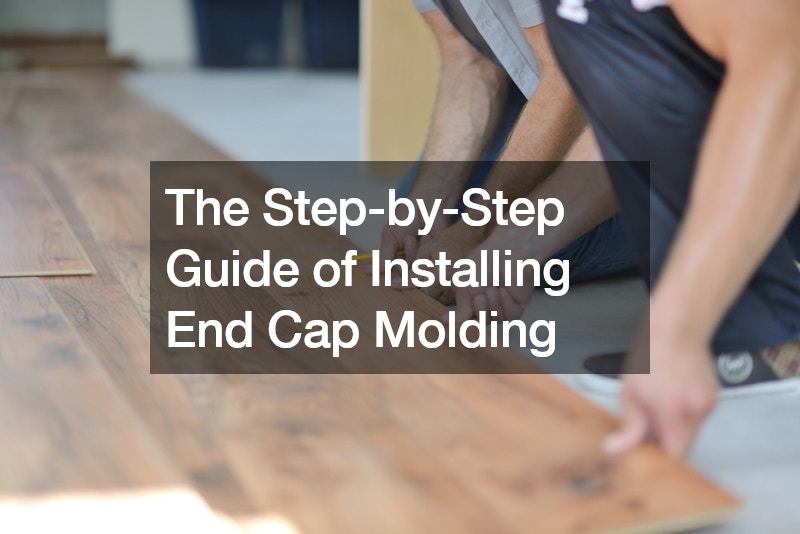

When you’re looking for a professoinal for some help with installing end cap molding, this video can help. They have crafted an easy-to-follow video describing how to precisely install end cap molding. The video details great visuals that can help create a seamless installation process.
What Is an End Cap Molding?
For those who don’t know, end cap molding is a part of the flooring installed before switching to another type. The molding can separate carpets or a different kind of flooring or be placed by a door.
Mainly, it helps facilitate an easy transition from one floor to the next.
Is Installing an End Cap Molding Difficult?
Plenty of things can go wrong when installing an end cap molding. Mainly, you’ll want to focus on measuring accurately, applying pressure as it glues, and positioning it well. Once the adhesive dries, it’s more difficult to remove, so be sure to carefully study the instructions.
End cap molding installation can be tricky if you’ve never done it before. There are plenty of ways that it can go wrong, but luckily, there are plenty of methods to get it right! With the proper tutorial, you can easily install great-looking end cap moldings without trouble. Thanks to this video, you can learn how a professional installs an end cap molding without issues.
.